About Mane Adige

My photo
"Mane Adige" means "Home Food" in kannada and this blog is all about recipes that I cook. Most of the recipes I post here will be from "Mangalooru" and "Bengalooru " regions of Karnataka,India. Rest of them are the one's which I try out by improvising the recipes got from different sources.
Showing posts with label Spice Mix / Powders. Show all posts

Friday, December 3, 2010

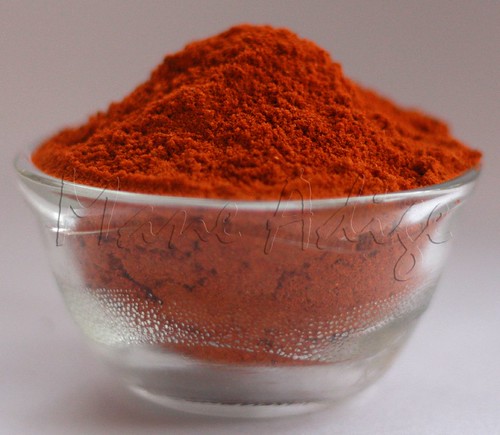
Rasam Powder/ Saarina Pudi/Menasina Pudi


Rasam powder, THE KING of all masalas, is the most essential ingredient in any South Indian pantry. This basic South Indian masala is used in several other dishes like Avarekai Sambhar (grind 2-3 tsp of rasam powder with coconut and use as an alternate masala), Avalakki upkari, Tomato Gojju, Puliyogare Gojju (Recipe coming soon!), Punarpuli Rasam, Tomato Puree Rasam, Bolu Huli, Bitter Gourd Sabzi, Gojjavalakki and several other dishes. So, if you have the rasam powder in stock, you could get your meal ready in just a few minutes!

Ingredients:

1 cup Jeera

1 cup methi seeds/fenugreek

1 cup Black pepper

1 cup Mustard

8 cups Coriander seeds

6-8 cups Dry red chilies, adjust quantity according to taste

3 cup Curry leaves

Method:

  1. Dry roast each of the ingredients separately until you smell the fresh aroma of the spice and the color changes lightly;Keep aside and let cool.
  2. Powder the roasted spices in a blender; DO NOT add any water while powdering.
  3. Store in airtight containers; To make rasam, follow Tomato Puree Rasam.

Tip:

  • While measuring red chilies, chop them into tiny pieces; This way, its a lot easier to stuff into cups and measure them.
  • While powdering, you might want to powder coriander seeds and dry red chilies  separately 'cause, coriander seeds and red chilies take longer to grind.
  • Rasam powder has a shelf life of about 6 months, so feel free to make enough and store in air tight containers.
  • You might want to store this masala in the refrigerator to retain its freshness and aroma.

Prep Time: About 30-40 mins;

Makes: Enough to fill a 500ml bottle;

Wednesday, May 20, 2009

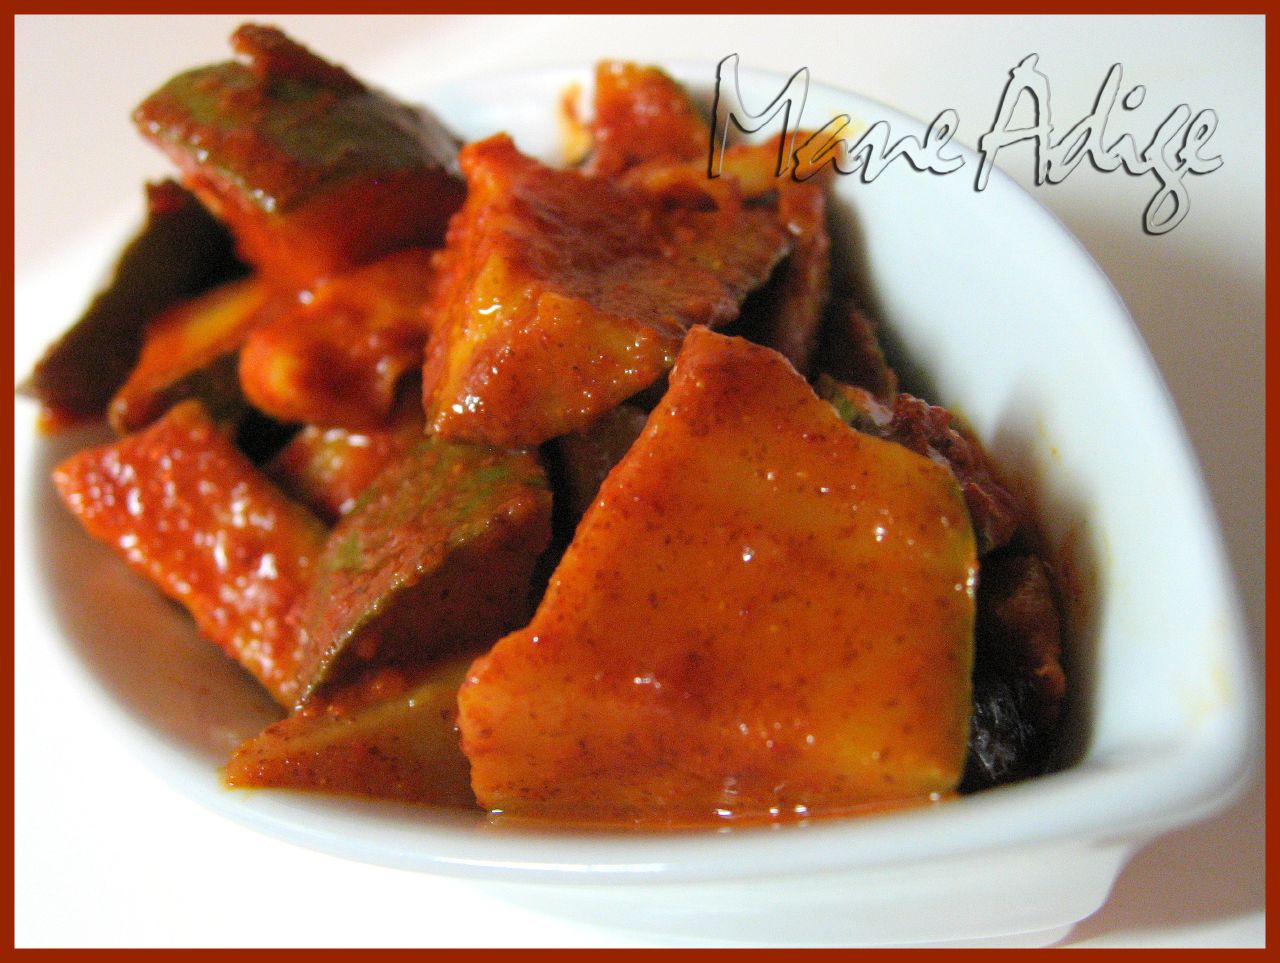
Maavinakai Kette Uppinakai (Instant Raw Mango pickle)


Pickles are something that everyone loves!!!!  As a child, I would have pickles with almost everything - idlis, dosas, plain rice & ghee, rotis or even bread!! :D And we always had a jar of home made pickles at home. In fact, I hadn't tasted store bought pickles until I shifted to the hostel during my Engineering days!! Amma makes different varieties of pickles and the one I have for you today is the simplest of all. Its fast, easy to make, takes very few ingredients and you need not have to wait for too long before you can start relishing it.... And it is also one of my favorites!!! :) Here's how Amma makes it....

Ingredients:

3 Raw Mangoes, medium sized

3tsp Mustard seeds

30 Dry Red Chilies, low to medium spiced

1tsp Powdered Hing

1 tsp Haldi/Turmeric

Salt as per taste


Method:

  1. Wash and cut mangoes into 1 inch cubes; In a glass jar, spread some of the cubes and sprinkle some salt over it; Add few more cubes and make another layer; Sprinkle some more salt ; Repeat the process for the remaining mango cubes and keep aside.
  2. Powder the mustard seeds and red chilies to a fine mixture; Add hing, turmeric and mix well. Note:DO NOT add any water while powdering the spices in the blender/mixie.
  3. Add the powdered spices to the mango-salt mixture and mix well with the help of a long spoon; Close the lid of the jar tightly. Relish with idlis, dosas,akki rottis, curd rice.

Tips:

  1. Choose mangoes carefully; The mangoes should be sour and hard.
  2. The pickle may seem a little dry on the first day, but DO NOT add any water; the mangoes will give out enough water in a day or two;
  3. Though this pickle can be eaten with any south indian dish, curd rice & pickle is the most famous combination.
  4. Though this pickle is sort of instant and can be used right away, it tastes great after a couple of days when the mangoes would have absorbed the masalas.
  5. This pickle cannot be stored for too long; Its average shelf life is about 1-1.5 months. As days go by, the mangoes would start becoming soft and start dissolving in the gravy.

Prep Time: About 30-40 mins;

Makes: Roughly enough pickle to fill a 450-500 ml bottle;

Tuesday, June 10, 2008

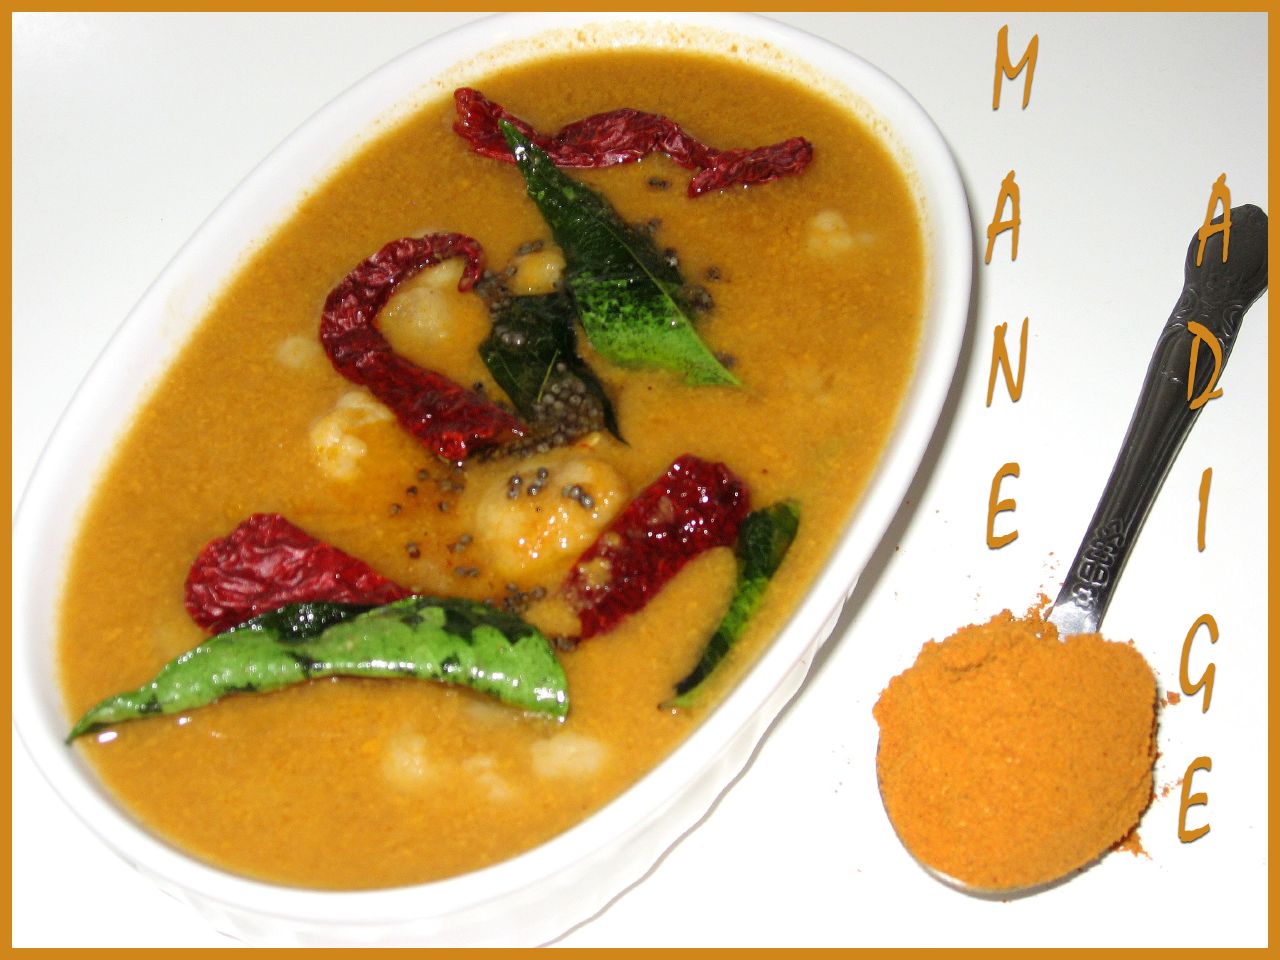
Huli


In Kannada, the word "Huli" means different things in different contexts. It could mean the "sour taste"... Tamarind is also called "Huli" in certain parts of Karnataka..... "Huli" also refers to the sambhar-like coconut based gravy which is eaten with rice.


Huli- the coconut based gravy, is an indispensable part of Kannada cuisine. This coconut based gravy probably gets its name from one of its main ingredients - tamarind. Though very similar to sambhar, huli and sambhar are NOT the same in Kannada cuisine... They differ by a couple of ingredients!! But, most people use the terms interchangeably because of the similarity in looks and taste . So, go ahead and use whatever term you are comfy with!! :)


I had not posted this recipe all this while, thinking it was too common and that every household has their own version of this recipe. Its hard to generalize and come up with one standard recipe. However, a lot of people have been requesting me for this traditional "Huli" recipe for quite some time now. So, here is my version (To be read as "my mother's version" ;)....). You could use any veggie of your choice, like eggplants, cabbage, beans, cauliflower, tindora, or even a combination of veggies, like potato-onion, okra-onion, carrot-onion, eggplant-black eyed beans etc. Enjoi!!

Oh, and btw, Sig from Live to Eat is hosting this month's JFI event(brainchild of Indira from Mahanandi for the ingredient Tamarind - Jihva for Tamarind. I am sending this "Huli" over to Sig's place for her JFI event. Thanx Sig, for hosting!! :)

Suganya, of Tasty Palettes is hosting this month's A Fruit A Month event , AFAM: Coconut. Started by Maheshwari of Beyond the Usual, the AFAM event celebrates one fruit every month. Thanx Maheshwari for having come up with such a brilliant idea, and thanx Suganya for hosting this month's AFAM event. I am sending this "Huli" recipe over to Suganya's place as my entry for AFAM:Coconut!!!


Ingredients:

2 cups chopped veggies

1 cup Toor dal (thogari bele), cleaned and washed

3/4 cup Grated coconut, fresh/frozen

1 tbsp Jaggery

1/4 tsp Tamarind paste

Salt as per taste

1-2 tsp Oil/Ghee

1/2 tsp Mustard seeds

4-5 Curry leaves

1/4 tsp Hing

A pinch of turmeric

For the Masala:

2 tsp Chana Dal / Kadle Bele

4 tsp Coriander Seeds

4-5 Dry Red Chilies, low to medium spiced

1 tsp Jeera (optional)

1 tsp Methi seeds (optional)

Method:

  1. Dry roast the ingredients for the masala until the raw smell disappears; If you are new to roasting masalas, you might want to roast each of the ingredients separately to avoid over roasting them.
  2. Powder the masalas in a blender without adding any water; Add coconut and some water to the powdered masala and grind to a smooth paste; Keep aside.
  3. Add a couple of drops oil and a pinch of turmeric to the washed toor dal.... Dal is supposed to cook faster with some oil and turmeric; Add enough water to cover the toor dal and pressure cook until done... for about 3-4 whistles.
  4. Meanwhile, clean and cook veggies with some salt and water, until done; You could even combine the veggies with the dal and pressure cook them, provided, you take care not to mash the veggies.
  5. Combine the cooked dal, veggies, coconut-masala paste and mix well; Add water to get the desired consistency.
  6. Boil on medium heat for 3-4 minutes. Add salt, jaggery, tamarind and mix well; Boil further, for another 3-5 minutes and remove from stove.
  7. Temper with mustard seeds, hing and curry leaves; Serve hot with rice/idli/dosa and enjoy!

Tip:

To make the process simpler and faster, you could make the masala powder in bigger proportions and store them in air tight containers. You could then use 2-3 tsp of "Huli Pudi" (meaning, huli powder) to grind it with coconut to a smooth paste!!!


Prep Time: About 45 mins, including pressure cooking time.

Serves: About 3-4 people.

Sunday, April 15, 2007

Green Beans Bhaat


Any kind of mixed rice is called 'Bhaat' in South India. These mixed rice varieties are more famous in the Bengalooru-Mysooru, Shivamogga regions of Karnataka. I used to carry lunch to school as a kid and my mom used to pack these different kinds of bhaats for me daily. All my friends used to like it so much that half my lunch box would get empty even before the lunch break!!!! :-). Green Beans Bhaat has been my favourite among them all, and here's the recipe for it.....

Ingredients:

1 cups White Rice
1 cup Finely chopped green beans
2 tbsp Oil
1 tsp Mustard seeds
5-6 Curry leaves
2 tsp Lemon juice
8-10 Roasted cashews
A pinch of haldi
A pinch of hing
salt as per taste

For the dry masala powder:
1 cup Chana Dal
1/2cup Urad Dal
3-4" Cinnamon
4-5 Cloves
1 tsp Poppy seeds (optional)
3/4 cup Coriander seeds
4-5 Dry red chillies (low spice)

Method:
  1. For the masala powder, dry roast each of the ingredients separately in a kadai until it changes colour mildly and you smell the fresh flavour of the masala. You can even dry roast them all together but you should do it very carefully because some of the ingredients might get done faster than the others and hence get burnt.

  2. Grind all the roasted ingredients into a fine powder using the blender and keep aside.DO NOT use water for grinding.

  3. Wash and cook rice such that each grain is separate. Let the rice cool down.

  4. Heat oil in a kadai. Add mustard seeds.

  5. Add haldi, curry leaves and hing after the seeds splutter.

  6. Add chopped green beans to the above seasoning. Pour very little water and cook covered until the beans are tender. Saute frequently and add water if required.

  7. When green beans are almost done, add salt, cashews and 2-3 spoons of the masala powder that you prepared in step 1. Mix well.

  8. Cover and cook on low heat for another 1-2 mins.

  9. Remove from stove;Add cooked rice and lemon juice and mix well.

  10. Pour ghee and serve hot with papad/chips.

Tip:

  1. The dry masala that is used for this bhaat has a shelf life of about 6 months to a year !! So, you can refrigerate the remaining masala in an air tight container and use it when you decide to make bhaat next time. This way, your work is reduced considerably and the time taken is also very less.

  2. The green beans-masala mixture (before adding rice) can also be used as a sabzi. It goes very well with rotis/chapatis.

  3. As a variation, you can substitute any other vegetable of your choice for green beans; Use brinjals (eggplant) and it becomes 'Vaangibhaat'!!